Showing posts with label Embellishments. Show all posts

September 17, 2012

Technique #14: Stamping on Dryer Sheets

0

Used dryer sheets can be used as card backgrounds or projects' embellishments!

As a background, as seen in the Card of the Month:
1. Tear it to the desired size.
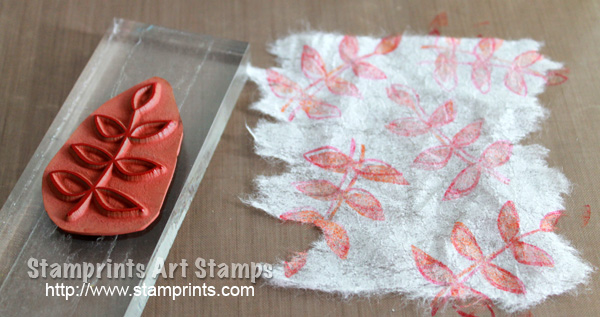
2. Stamp on it several times.
3. Turn it around and rub a dye ink pad (purple) for some color. Let dry. And use it on your card or other projects.

And as embellishments...this is how the flowers from the previous post were made:

1. Rub dye ink pads on the dryer sheets.
 2. Stamp on it (clear stamp from Fancy Pants Designs Bella Brush). Let dry.
 3. Run the sheets (I stacked  8 sheets here...) through a die cut machine (Cuttlebug, using die cut from Sizzix - Flowers#2). Or just cut it by hand, with the help of templates. 
 4. Assemble your flower embellishment (some of the petals from this flower were not stamped).
 5. Add a brad to the center (you don't even need a hole punch...just poke it through the dryer sheets).
6. Use them in your projects!
(background stamp from Fancy Pants Designs Bella Brush)

Other ways to dye the dryer sheets:
  • Dilute dye ink in a container with water and dip the sheets in
  • Spray ready-made ink sprays directly on the sheets
  • Drop dye inks on the sheets and spray with water
  • Use acrylic paints

September 10, 2012

Project #14: Dryer Sheet Flowers

0

Make these flower embellishments from used dryer sheets and use them on your projects!
Supplies:
1. Stamps:
Script clear stamp (Fancy Pants Designs Bella Brush)

2. Ink Pads
Memento Tuxedo Black
Dye Ink in colors of your choice

3. Others:
used Dryer Sheets
Brads
Die-Cut and a die-cut Machine (optional) - you can also hand cut!

Tutorial coming soon!

August 26, 2009

Project #3: 3-D Embellishments

0

Use rubber stamps to create 3-D embellishments and give your cards the extra "pop"!


The card above uses the stamp
QC-B52 Wild Tomato.
Stamp the flower on the striped patterned paper (pp) and heat emboss in Clear.
Then, stamp it 3 times more on the pinkish pp and also heat emboss.
Cut the flowers out and layer them to form the full bloom.
The first and second flowers were adhered on with double-sided tape. Use foam tape to adhere the third flower.


The card below was created with 3 embossed flowers.
Stamp the flower from S.E.I. Mimosa Clear Stamps
on light green cardstock, heat emboss and cut them out.


Adhere the left and the right flowers with double-sided tape. And use foam tape for the flower in the center.


The sentiment (Studio G) was stamped on light green cardstock and layered on BasicGrey pp. Then, the panel was adhered with foam tape.